This page may contain affiliate links. If you follow a link to sign up or make a purchase, I’ll earn a small commission at no cost to you.

A brutal truth you need to know: your business is nothing without an engaged community/audience.
Another truth: the best way to build a strong and engaged community is through email marketing.
More specifically, an effective email list.
That’s why in this blog post, you’ll learn the first step in building a strong community: how to create Opt-in forms (using Kit).
Why Kit(formerly ConverKit)? Cause, in my opinion, it’s one the most user-friendly and affordable email service providers out there. I’ve been using it for a while now, and I can honestly say I would recommend it to anyone.
Before we get into it, if you’re new to email marketing and want a beginner-friendly introduction, check out this post, where I walk you through building your first email list.
Okay, let’s go.
Getting Started with Kit
Before diving into creating your opt-in forms, ensure you have:
- A Kit Account: Sign up or log in to your Kit account. (if you don’t want to pay yet, that’s fine. They have a free option.)
- Website Integration: Make sure your website is integrated with Kit so you can easily embed forms.
- A Clear Goal: Know whether you want to capture newsletter subscribers, offer downloadable content or promote a product.
Types of Opt-in Forms on Kit (ConvertKit)
ConvertKit offers two primary types of opt-in forms (well, three if you include their landing page forms, but we’ll get to that another time):
Pop-up Forms – These appear based on triggers (e.g., exit intent, time delay, or scrolling behavior) to capture attention.
In-line Forms – Embedded directly within your content, these provide a seamless way for visitors to subscribe without disrupting their experience.
Step-by-Step Guide to Creating Opt-in Forms in Kit (ConvertKit)
Creating an In-Line Opt-In Form
Step 1: Accessing the Forms Section
Log into your Kit account.
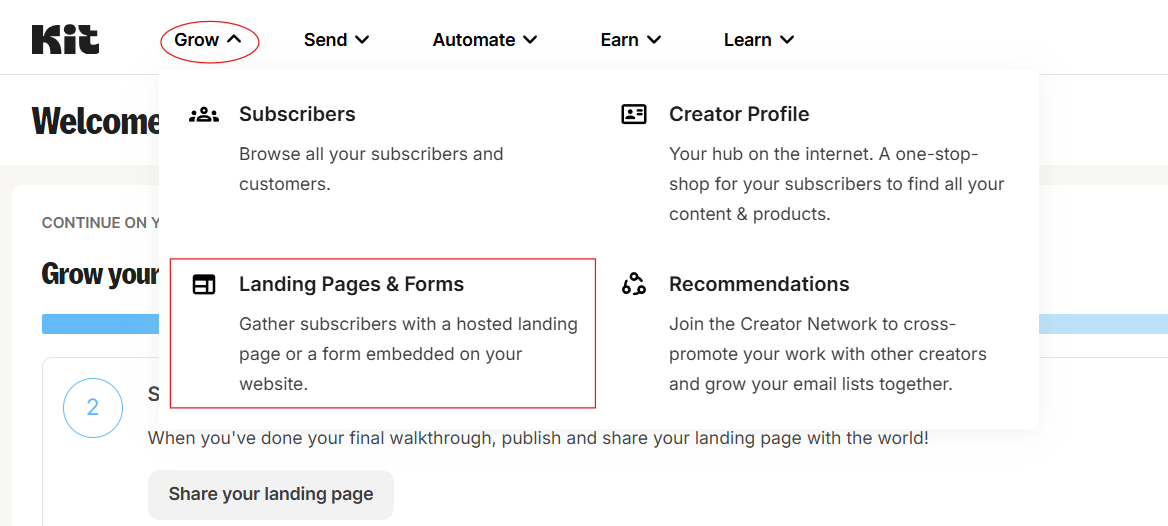
Navigate to Grow > Landing Pages & Forms from the top menu.
Click on + Create New
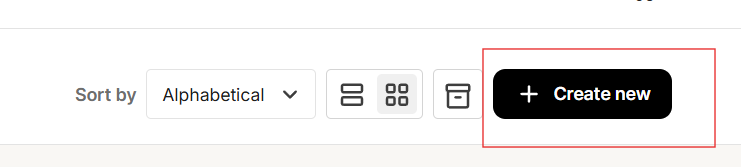
and select Form to get started.
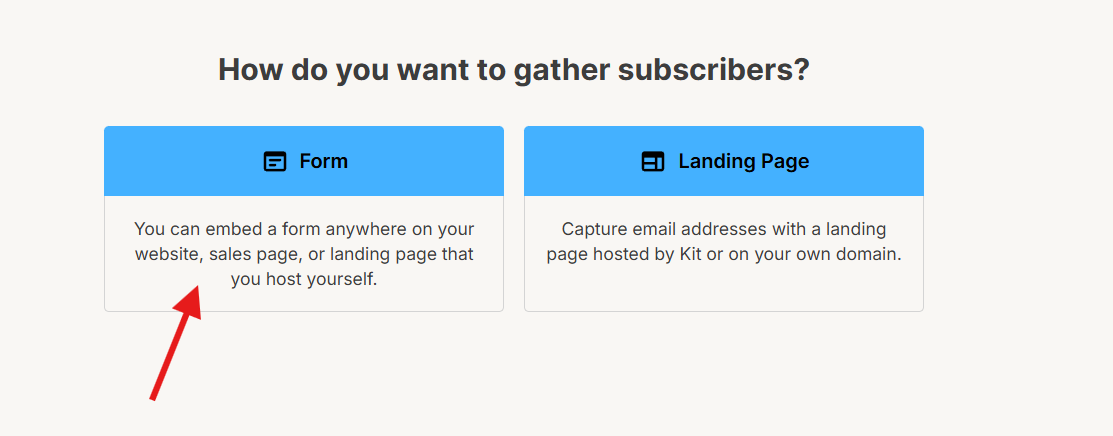
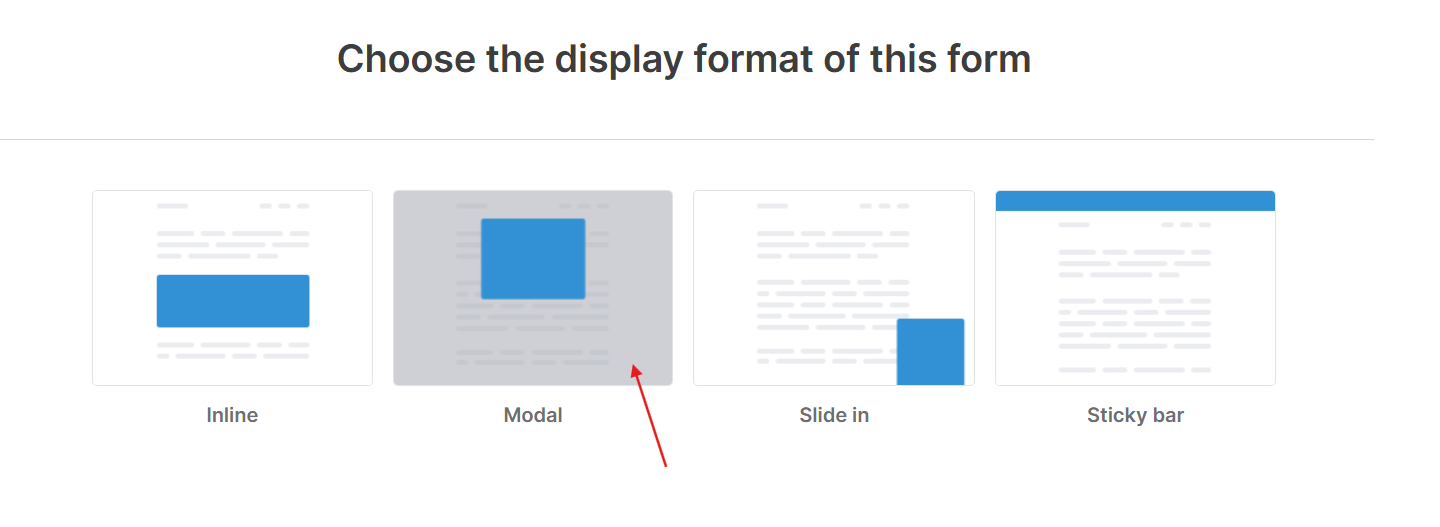
Choose “In-Line Form”: When prompted to choose a form type, select “In-Line” to embed the form within your page content.
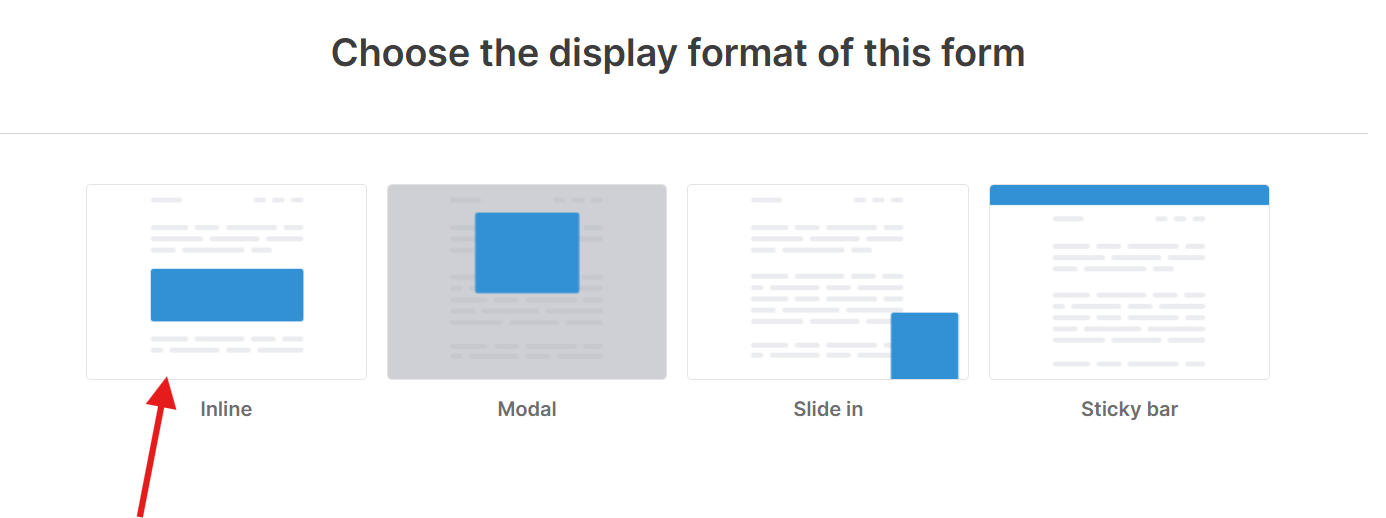
You can also use “slide in” and “sticky bar” if you wish. I just prefer “Inline.” “Modal” is a pop-up form; we will get to that later.
Step 2: Designing Your In-Line Form
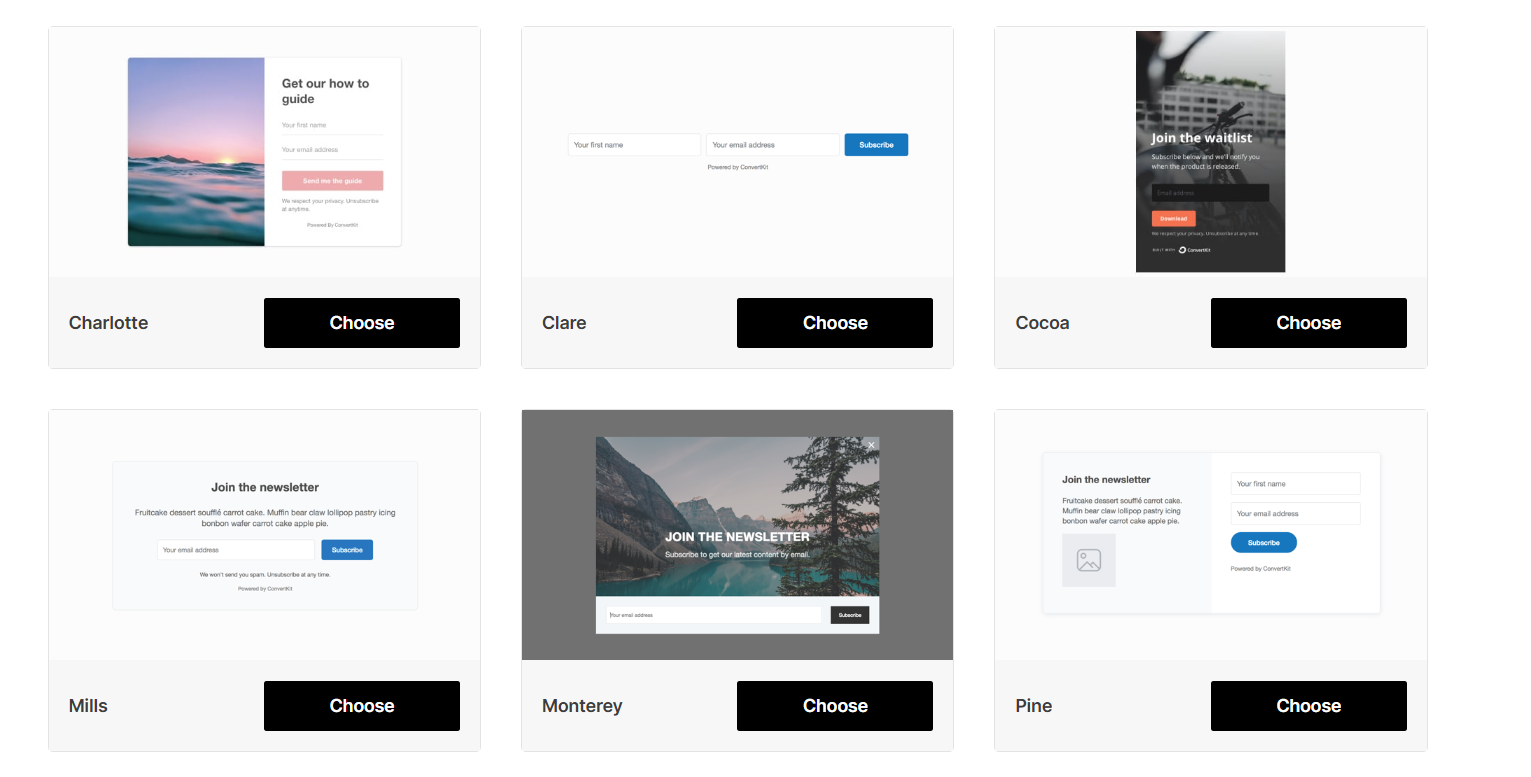
Choose a Template: Kit offers a range of templates that you can customize.

I like to use the “mills” template, but for this example, I’ll use “Charlotte.” But choose whichever you like best. The steps are the same.
Rename and Add Form Fields:
The first thing to do is rename the form to something relevant that you’ll remember. So if this form offers a 10% discount, rename it to “10% discount inline form”.

Now, you can start designing the form.
All your forms should have the email address field, and I recommend you add another field for “first name” so you can personalize your emails later.
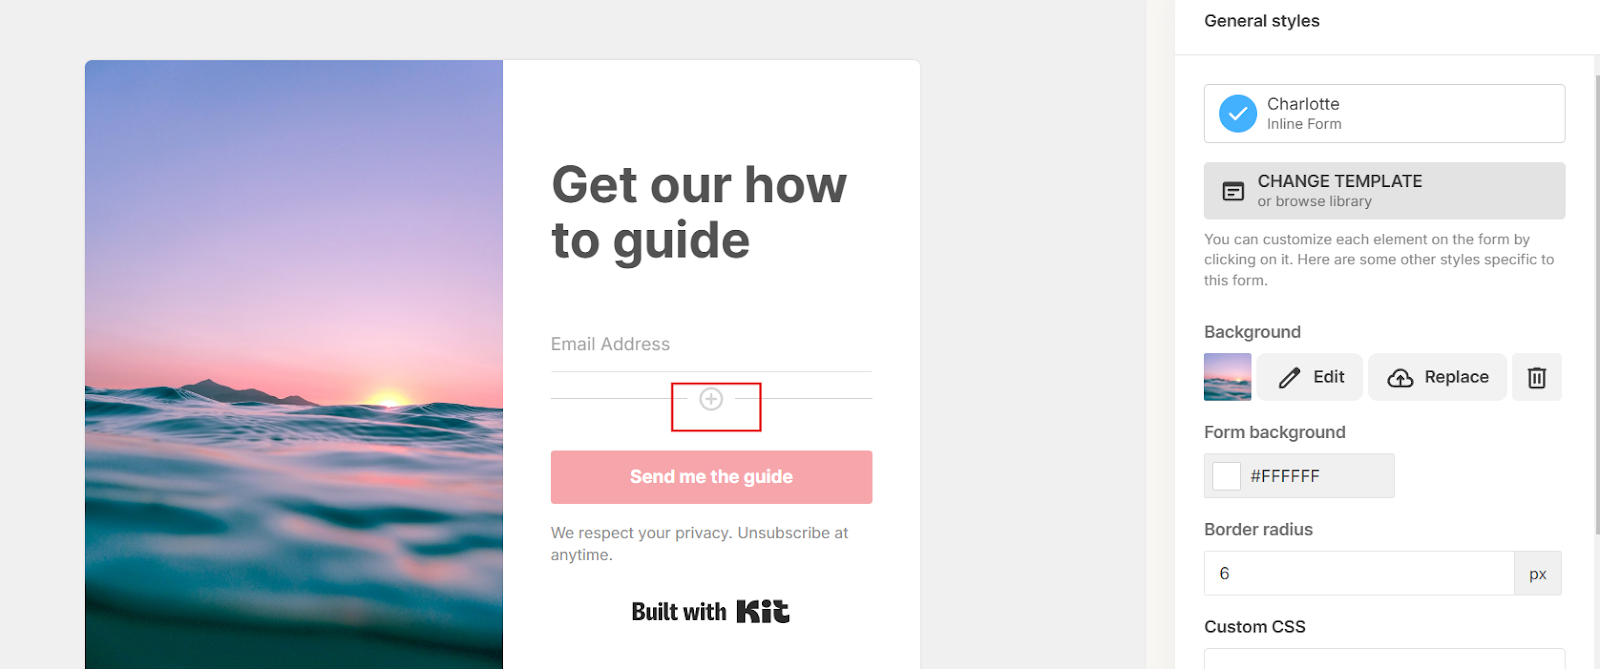
To add a new field, click the “+” button.
Those are the only two fields I use but feel free to add any others you wish. Just remember the more information you ask for, the less likely a reader will want to fill out the form. So, keep things short and simple.
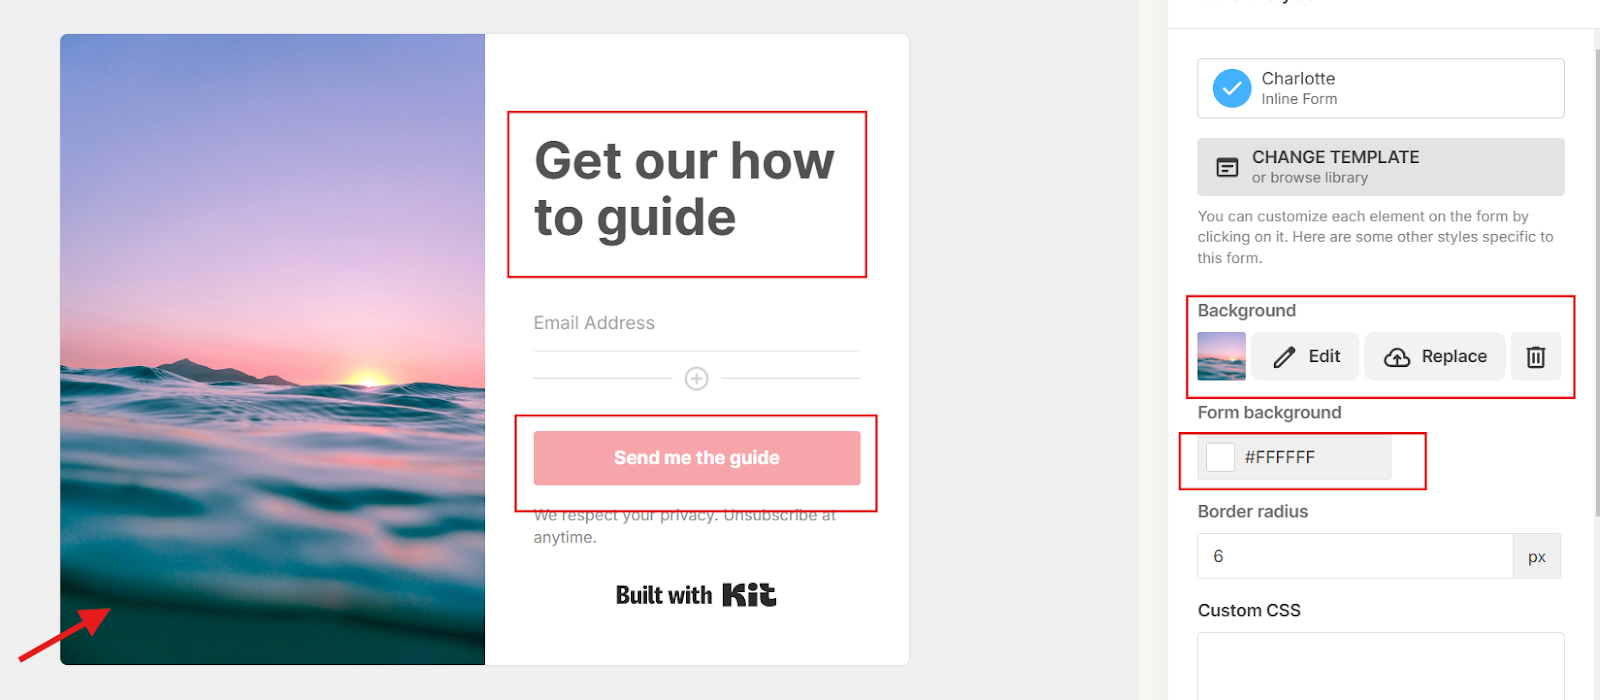
Other things you should customize are:
- Colors & Fonts: Adjust the design to match your website’s branding.
- CTA Button: Create a clear call-to-action, such as “Get your discount” or “Join the List.”
- Image: Insert a relevant image
- Text: this is where you entice the reader to sign up. Make sure you use attention-grabbing text to hook them.
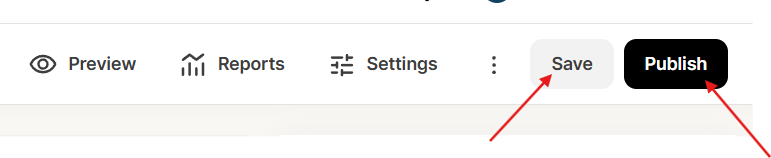
After changes are made, make sure you hit “Save,” and if you want to see how your form looks on a sample webpage, click “Preview.”

Step 3: Adjust settings
Next, we’ll play with some settings.

Honestly, I don’t do too much with the settings; I just change a few things. The first thing you’ll see is this box:
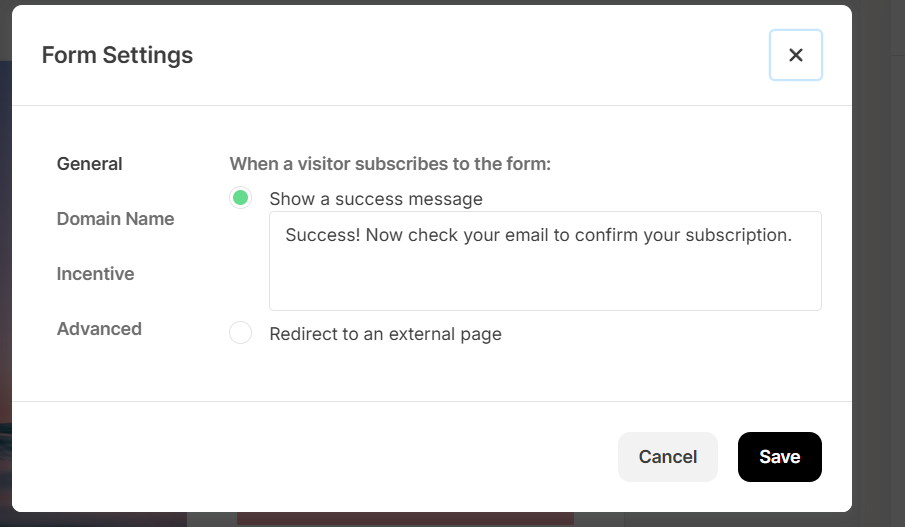
The success message is what a person will see immediately when they click the subscribe button on your form. You can customize it to show a different message if you want.
Or you can change the toggle to “redirect to an external page” if you want.

You’ll just need to provide a URL to the page you want to show up.
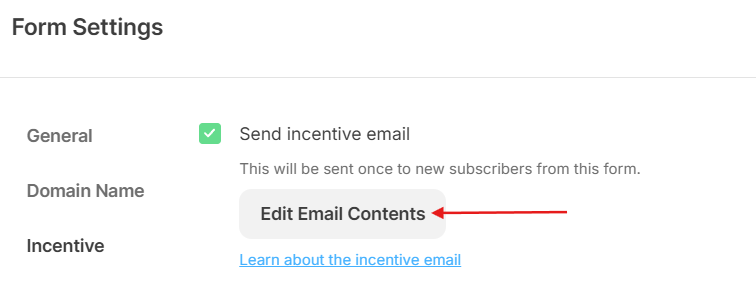
I don’t change anything under “Domain Name,” so we’ll skip that and head to “Incentive.”

This is how Kit works: after a person clicks subscribe, they get the “success” message I showed you earlier. Then, they receive an email.
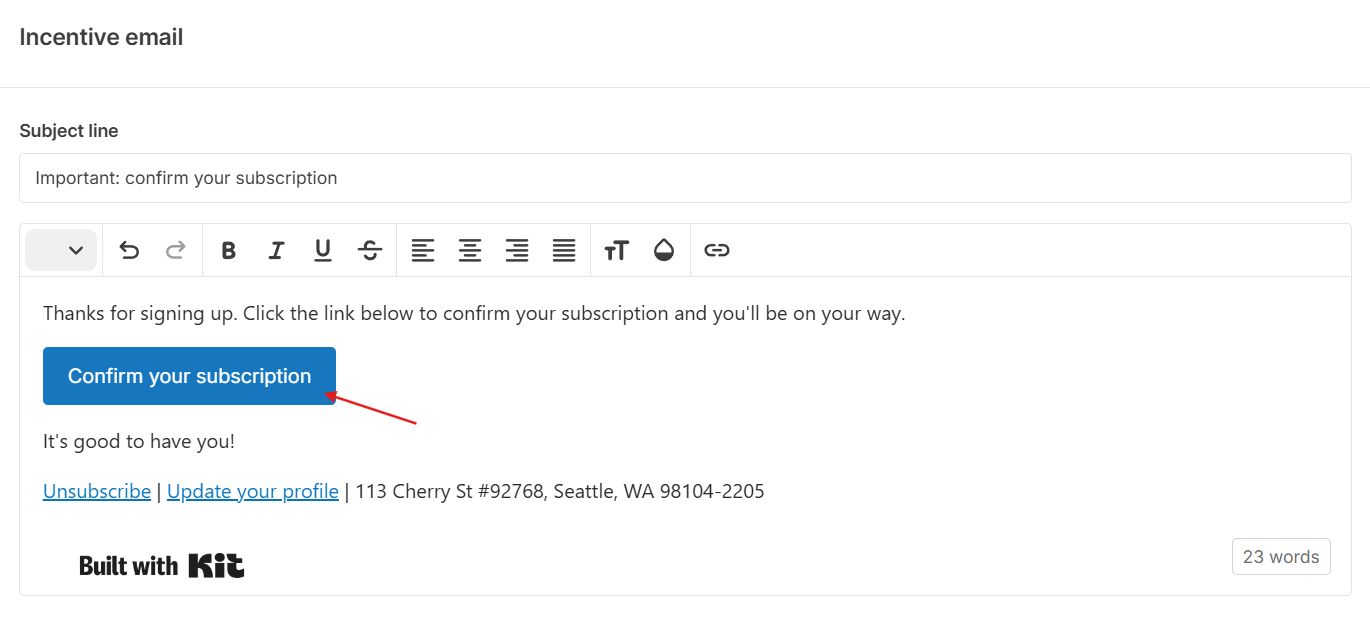
In the email, they click the blue “confirm your subscription” button, which will either redirect them to a URL of your choosing
or allow them to download a freebie you could be offering.
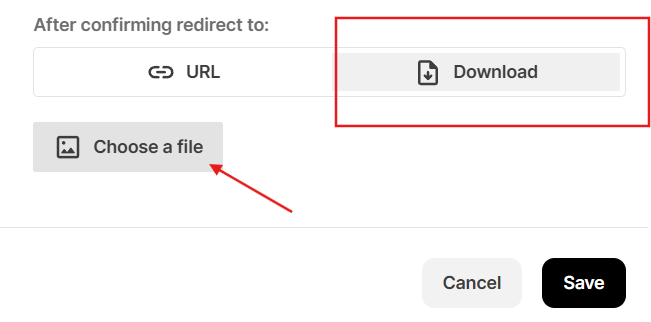
If you want to offer people a freebie in exchange for subscribing, then upload your freebie by clicking the “choose file” button shown above.
After you’ve made all your changes, hit save.
Once satisfied with the whole form, hit save again.
Step 4: Embed the Inline form
In order to embed the form you created to your site or blog post, hit the black “publish” button. Doing so will give you options to embed the code of the form to your website.
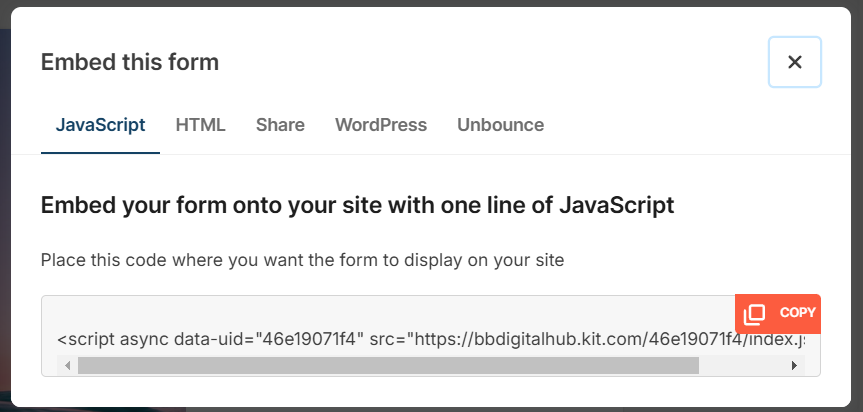
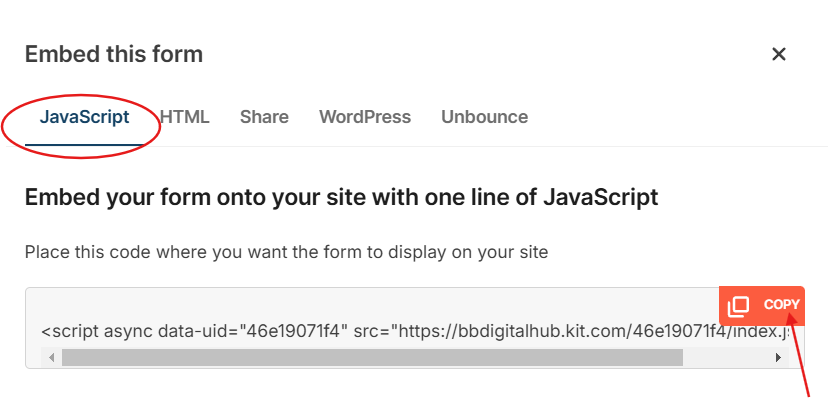
All you need to do is choose your preferred option (JavaScript, HTML, etc) copy the code and paste it into your website’s HTML where you want the form to appear.
And that’s it!
(after embedding the form, go to your site and make sure it shows up).
Creating a Pop-Up Opt-In Form
For pop-up forms, the steps are very similar. You just need to make a few changes along the way.
Choose modal. As of this writing, modal is Kit’s only pop-up form option.
The template forms are the same as with an Inline form.
The next steps are the same as with an Inline form, so just follow the steps above. The difference comes in under settings.
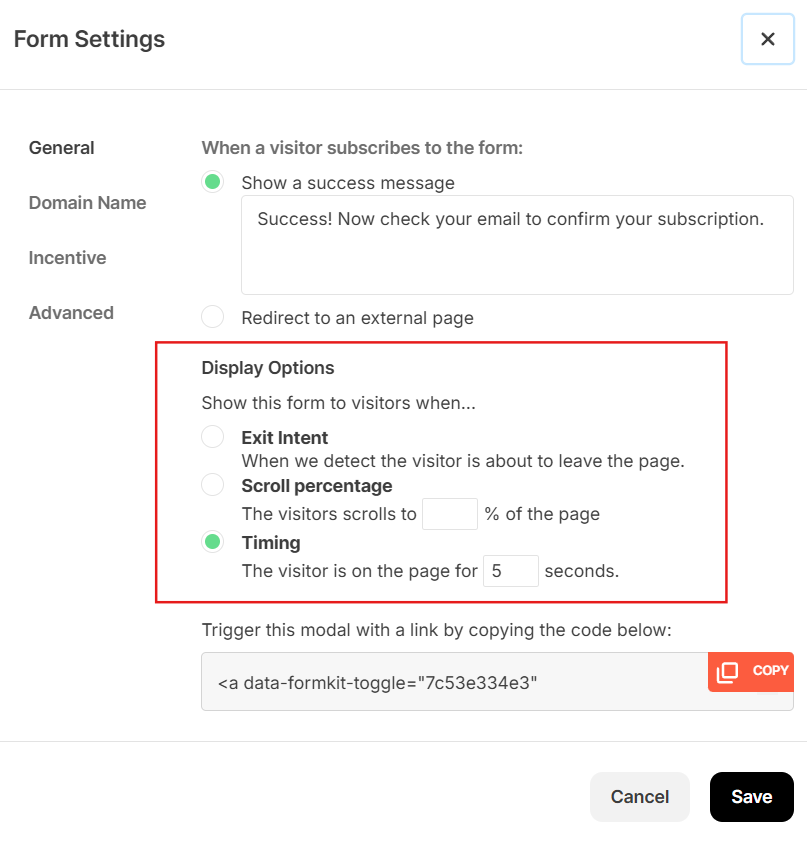
Because this is a pop-up form, you have to decide how you want it to….…. Pop-up.
You can do “Exit Intent” meaning your form will show just when the reader is about to leave.
Or “Scroll percentage,” which means your form will show when the reader has scrolled to whatever percentage you choose.
Or “Timing,” which means your form will show when the reader has been on your page for a number of seconds.
Pop-up forms are excellent for grabbing attention, especially when you want to present a special offer or prompt exit-intent actions.
Everything else under settings is the same as with an Inline form.
Best Practices for High-Converting Opt-in Forms to Maximize Conversions.
- Offer a Valuable Incentive – Freebies like guides, checklists, or discounts encourage sign-ups.
- Keep Forms Simple – The fewer fields, the better. Just asking for an email and first name is often enough.
- Use Actionable CTA Text – Avoid generic words like “Submit” and use engaging CTAs like “Get My Free Ebook.”
- Ensure Mobile Optimization – Forms should be responsive and easy to fill out on mobile devices.
- Limit Pop-up Intrusiveness – Set reasonable display times to avoid annoying visitors.
- A/B Test Your Forms – Experiment with different headlines, CTA buttons, and designs to find what works best.
Creating effective opt-in forms in Kit is essential for growing your email list and business. By following this step-by-step guide, you can design high-converting forms that engage your visitors and turn them into loyal subscribers.
If you have any questions or need help setting up your forms, comment below!
Leave a Reply